Feeds:
Posts
Comments


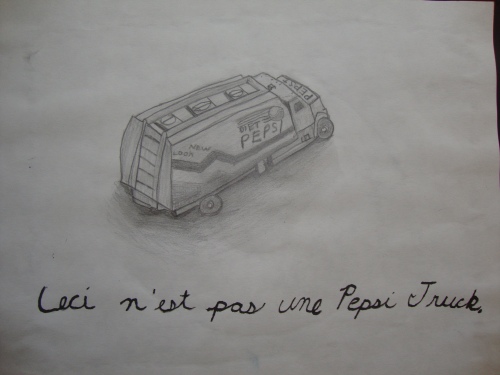
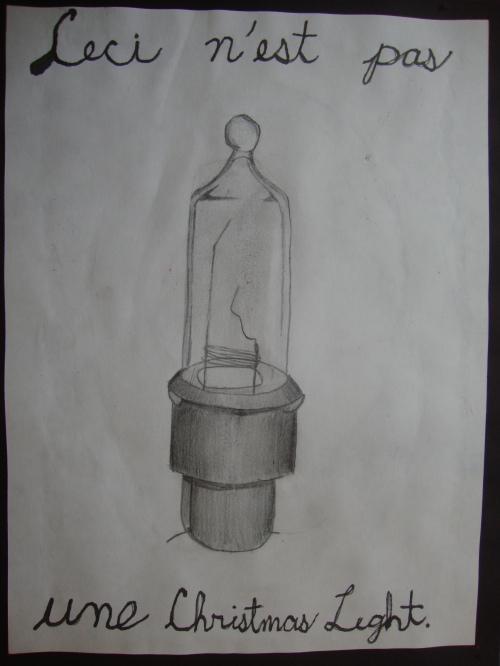
the-treachery-of-images-this-is-not-a-pipe-1948(2)I adore surrealism. Magritte’s “The Treachery of Images” is such a clever mind trick. I decided to base a lesson on this painting because it teaches basic drawing as well as the concept that art is meant to make you think. I did this lesson with my 6th graders. This was a big challenge for them because I was really hard on them. If it was obvious a student was just scribbling what they thought they saw I would not accept that. It was amazing how many students thought they were “done” the first day. My goal was for my kiddos to really LOOK at what they were drawing, observe the shadows and highlights, and accurately portray proportions.

Saying this I do want to note that as the teacher it is not my job to defeat my students. I want to develop my students’ skill and appreciation for art but it is important for my kids to know that they are all going to be at different levels and have different styles. Art is an individual experience. Each student’s talent is going to be different and some will struggle more. I need to know what they are capable of and what I can push them toward. I need to know whether they are trying or not. I will NEVER punish a student because their artistic abilities may not be as strong as the class artist. It is my job to expect the best and to expect them to progress in my classroom.

This was a very fun lesson. It was a challenge but it was a huge success. DSC02112
DSC02118

DSC02072


I adore this student’s Yoda. I gathered a TON of old toys and random objects and let the kids go to town choosing what object they wanted to draw.


DSC02073

DSC02074

DSC02075


Getting this jet was a fight. I would not let this student finish when he wanted because I KNEW he was capable of so much more than he was giving me. He didn’t want to add any shading. It was a pretty simple stress jet, like the balls you squeeze, and this was the most challenging object I could talk him into choosing. I am glad I pushed him.
DSC02076


March 156

March 225

March 226

March 154


OLYMPUS DIGITAL CAMERA

March 152

OLYMPUS DIGITAL CAMERA

March 229


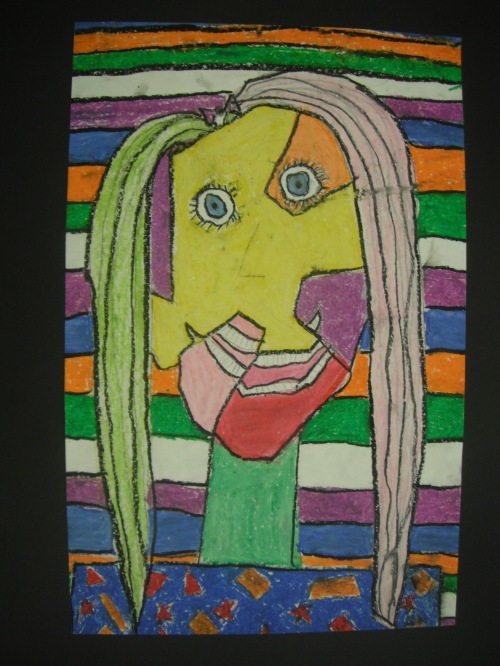
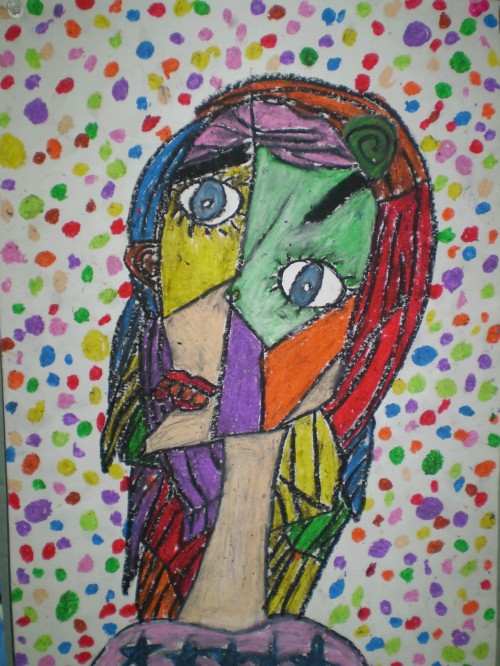
6th grade does a lot of self portraits. First I had them do a realistic portrait and we reviewed how to draw a face, step by step. I told pictures of each student prior to this so that they had a resource to look at instead of guessing at their features. To extend this project, I introduced Klimt and this gold period paintings. After this project the kids got to loosen up a bit and use oil pastels for Picasso stylized portraits. I wanted them to experience one extreme to the other. This year the 6th graders did portraits in the style of Modigliani and instead of Picasso portraits they are drawing Picasso Superheros.


DSC01994

DSC01995

DSC01996

DSC01997


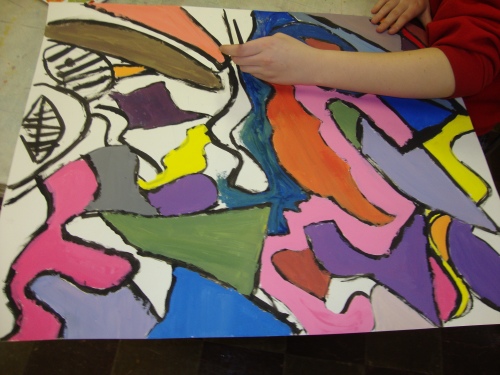
These paintings are space fillers in between projects. It took longer than expected to complete the Chuck Close Color Scheme Names 8th grade has been working on. Some of the 8th graders are painting large compositions inspired by Kandinsky and his music inspired Improvisations. Lets be honest, as an artist/ art enthusiast/ art teacher, I have a ton of favorite artists but Kandinsky would be my favorite Abstract Expressionist. I will elaborate on these more later, this is just a preview. 🙂 I have lesson introductory activities with this project and different ways of coming about achieving the final product.

Fairy Tale Castles

March 172

March 169

March 170

March 116

March 114

March 115


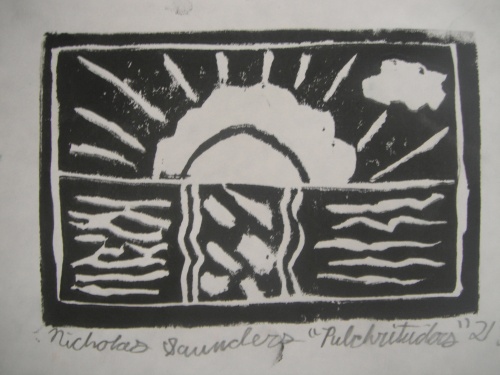
Every year my 5th graders have done linoleum prints. I actually have them make an edition of 3 prints. I really stress presentation and craftsmanship during this project. It can be an extremely messy project and the students need to practice following directions, taking care of their project, preparing and maintaining their work area, and really mastering the skills required to complete the project.

I am doing this currently with a 7th grade class. I printed a template of stamps, rather than following a nature theme they are coming up with their ‘personal stamp.’ They are to come up with at least 2 different sketches of a symbol/image that would represent who they are. The artists will transfer their favorite rough draft to the linoleum and cut it out. I always have them practice first and then I copied the stamps on card-stock and they will make their final prints. This is a new twist on the project and so far it seems to be a positive change. Printing is a more hands on project and proves to be a favorite among the boys. The real challenge with this project is to plan ahead and figure out where to cut and where to leave the linoleum. I always have students who try to cut a design that is too small or complicated. I think it is am important skill to be able to modify or reign in artwork too.
 

March 121

March 122

March 110


One of my FAVORITE artists would be Miss O’Keeffe. She was amazing. I recently read about her in my book, The Secret Lives of Great Artists. This book is not appropriate for my students to look through on their own, it does cover some racy issues such as Diego Rivera and Frida Kahlo’s infidelity, for example. It has some amazing facts about famous artists throughout art history. I just learned that Chagall, another of my favorites, inspired the name for The Fiddler on the Roof!

When Georgia was pursuing art it was a male dominated world and women were not taken seriously as artists. She is more commonly known for her flowers; I love one of her quotes that explains why she painted them:

A flower is relatively small. Everyone has many associations with a flower – the idea of flowers. You put out your hand to touch the flower – lean forward to smell it – maybe touch it with your lips almost without thinking – or give it to someone to please them. Still – in a way – nobody sees a flower – really – it is so small – we haven’t time – and to see takes time, like to have a friend takes time.. ..’So I said to myself – I’ll paint what I see – what the flower is to me but I’ll paint it big and they will be surprised into taking time to look at it – I will make even busy New Yorkers take time to see what I see of flowers: ‘Well – I made you take time to look at what I saw and when you took time to really notice my flower, you hung all your own associations with flowers on my flower and you write about my flower as if I think and see what you think and see of the flower – and I don’t.

-Contribution (1939) to the exhibition catalogue An American place (1944)

Georgia O’Keeffe is an example of excellence and success, especially for girls. She was the first woman to exhibit a solo show in 1917.

Besides show casing an amazing American, female artist one of the objectives of this project is to get my students to draw LARGE. I am constantly telling my students to activate space and it is still always a challenge, even in the higher grades. I push my students and when possible I will make them redraw something if it is too small. If I can I will photocopy and enlarge drawings though. I want my student artists to really think ahead, and plan out their compositions. I also love that O’Keeffe had her own style. She didn’t fit into a defined art movement.

The first step for this project was to pick a photograph of a flower from the large stack I have provided (eventually I would like to bring in real flowers and have the kids draw from them or take their own photographs). On black paper they draw their flower very large. I tell them their flower has to touch 3 sides of the paper. To get them to loosen up a little, draw big, and simplify their flower they outline their drawing with glue. Once this step dries the students have their choice of oil or chalk pastel to color in their paper. The glue creates an interesting effect as well. If there is a name for this, I do not know it. By 7th grade my classes have used both types of pastel several times so I like to give them the choice of their favorite. I do push them to mix colors and really go bold with the colors, like O’Keeffe. Right before this they painted a complex color wheel, so they know the tints, shades, and compliments and I remind them of these color options as they color their artwork.

Without fail, these flowers turn out amazing! I love this project and despite having flowers as a subject, the boys really seem to enjoy it still. Boys especially seem to love pastels.

I have also done this with lower grades. 1st grade has painted their flowers before. 3rd grade used only oil pastels.


Pop Art Crosses

Jooi 088

Jooi 087

Jooi 085

Jooi 084

Jooi 089


Since I work at a Catholic school, I decided to use a cross as our icon for this project. I was going to do ice cream cones like Wayne Theibaud but this works too and incorporates Catholic identity into the lesson. The real meat of this lesson was practicing control of the paintbrush and washing off brushes between colors. We talked about Pop Art and iconic images and symbols, the color wheel, and painting large (ACTIVATE SPACE!). I only gave the kids one color at a time. I would let them paint for a couple minutes and announce a switch. This meant they needed to wash out their brushes and then each station (table) got their new color. I get the kids for 30 minutes and this took 2 classes. if someone finished early I told them to layer paint and add to their painting. The kids thought it was neat that they could paint on top of the colors that had dried. I cut the crosses out for the kids.

Aztec Suns

4th Gr. Aztec Sun

4th Gr. Aztec Sun

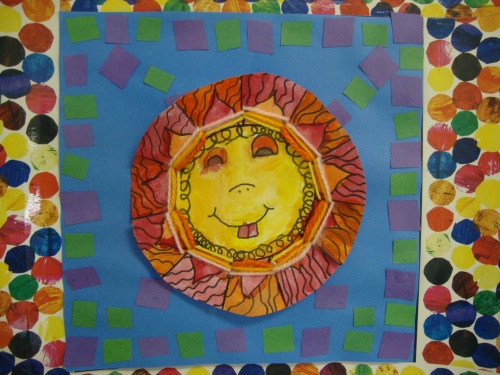
With 12/12/12 occurring this school year I decided to do a project on the Aztec Sun and Aztec/Mayan Calendar. This was a great project to cover multiple skills: radial/symmetrical balance, Aztec culture, Pattern/design, warm and cool colors, color schemes, weaving, mosaics, and following directions. First we talked about the Aztec sun and the story of the Aztec Sun gods. We looked at the Aztec Calendar and discussed the designs on it. The students had to draw a radial/symmetrical design and face on their suns. I made a circular template they drew their suns directly on. The next step was to outline their drawing in sharpie. After this, the classes water colored their suns. We discussed color schemes: warm, cool, and neutral. They picked a color scheme and painted their sun. While they dried I had them start on a mosaic background. Most of the kids chose to stick with their color scheme which I did not require. I did ask them to think about their color choices and pick colors that would go well together. The last step was to weave around the sun’s face. Students LOVE yarn. They are obsessed with it and they loved this step. To make it easy I had drawn the lines on the circle template for them to cut out which created a frame for their weaving. After this they just had to glue their sun on to their background and they had an awesome piece of art. This project is a keeper!

DSC01614

DSC01634

DSC01815

DSC01840

DSC01835

DSC01839

Animal Effigies

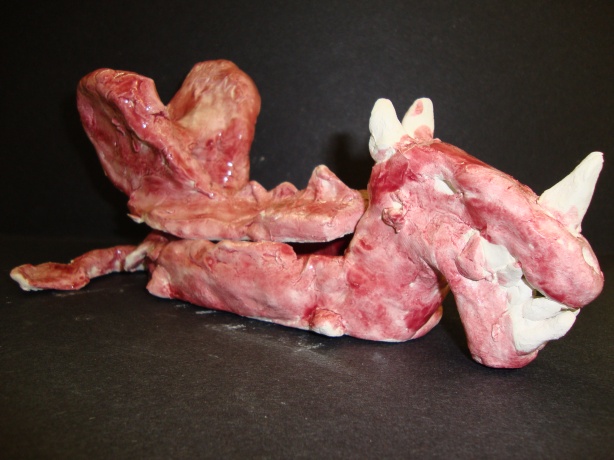
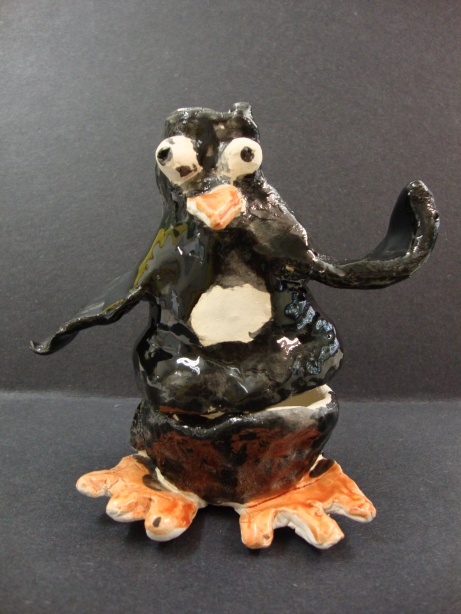
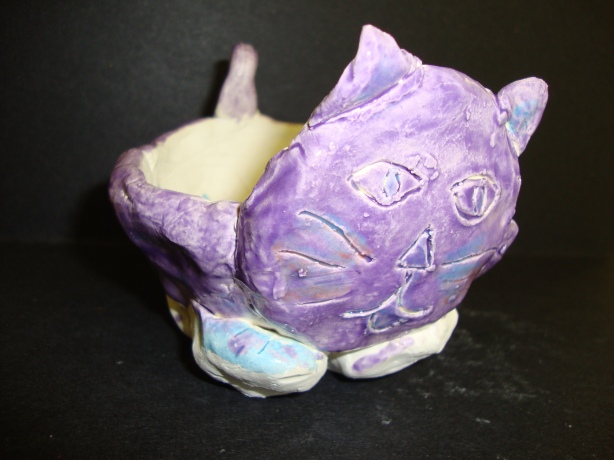
Working with clay is in my classroom is a challenge because I do not have sinks or an area to store slip. Nonetheless, we have managed and my students have produced some awesome ceramic pieces. DSC00436 DSC00437 DSC00439 DSC00448 DSC00438